Are you a business owner or blogger that needs to start utilizing Facebook Ads? Do you have any idea what you’re doing? Well, once upon a time, neither did I, so I wanted to share with you what I’ve learned and how to get started.
How to Get Started with Facebook Ads
Since I’m assuming you haven’t set up anything except your Business Manager, let’s get started by walking through the steps for setting up an ad account.
Set Up Your Facebook Ads Account
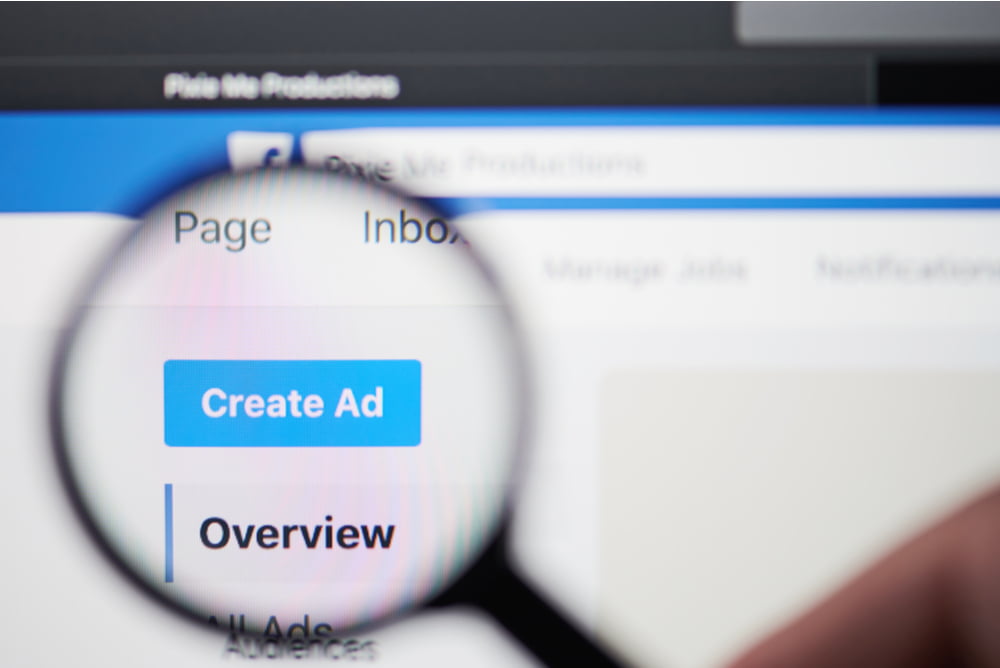
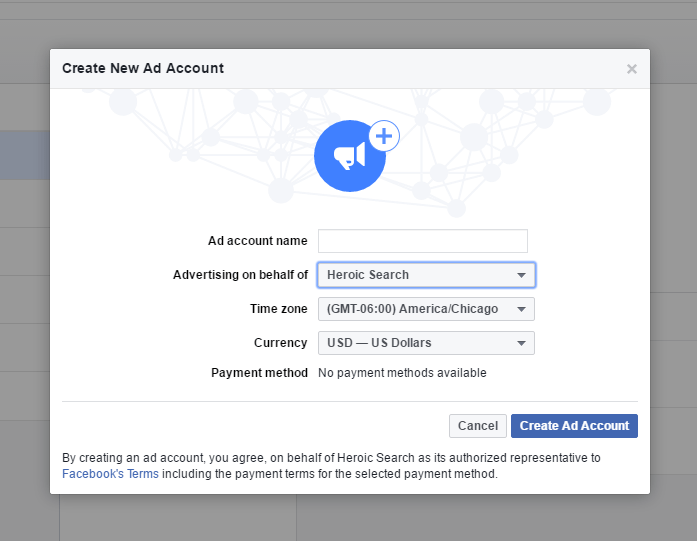
An ad account is what you use in order to pay for the ads you create in Facebook for both Facebook and Instagram. You are required to have one before you can boost posts or make ads on the platform. To create a new ad account in your Business Manager:
- Go to your Business Manager.
- On the left side of the page, go to Add New and click Ad Accounts.
- Give your ad account a name that you’ll recognize. I recommend naming it after your business or page name, in case you hire a social media marketer to help you.
- Choose your payment method (this method will be the primary payment method for the ad account) from the drop-down menu and fill in any of the other details as needed.
- Click Create Ad Account.
From here, you’ll also need to set up your Facebook Pixel on your website, so that Facebook can track what happens with your ads and how people interact on your website.
Put the Code on Your Website
One of the final things you have to do to get set up for Facebook ads is to get the pixel code from Facebook put onto your website. You may need some help from your webmaster or your website admin, but the following how-to steps are included here, in case you feel comfortable enough to do this yourself.
Your Facebook Pixel code is made up of two main pieces of this code:
- The Pixel base code
- The Event codes
The base code will track traffic activity on your website, providing the ability to measure certain types of events. This base code should be installed on every single page of your website. The event codes should be placed on the pages where the actions you want to track take place (for example, the “add to cart” event should go on any page where there is an “add to cart” action or confirmation).
So now that you know a little more about how the Pixel works, let’s get it on your website. First, you’ll need to get it created if you haven’t already done so.
Create Your Facebook Pixel
- Go to your Facebook Pixel tab in Ads Manager.
- Click Create a Pixel.
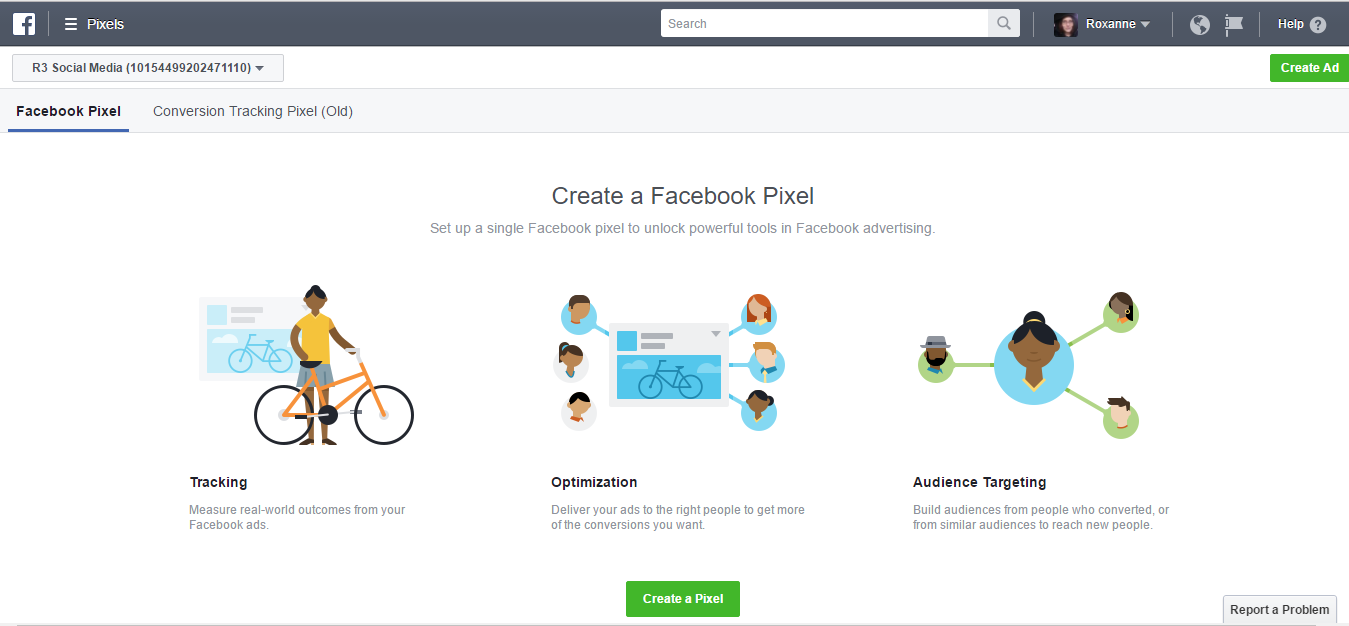
- Enter a name for your pixel. You can have only one pixel per ad account, so choose a name that represents your business. Note: You can change the name of the pixel later from the Facebook Pixel tab.
- Check the box to accept the terms, if you accept them.
- Click Create Pixel. Note: You can only create one Facebook pixel per ad account. If you already have one, you won’t see the Create Pixel button.
“Events” are actions that happen on your website as a result of your Facebook ads, which are paid, or organic reach, which is unpaid. The event codes let you track those actions and use them in your advertising. “Standard events” are the 9 events that Facebook is able to track, based on their own predefined code, and optimize your ads. If you would like to track these specific events, such as “add to cart” or “add payment info” with your Facebook ads manager, you’ll need to add the correct pieces of code to the appropriate pages of your site to track those items. I recommend getting your webmaster or website admin to get this done for you, but if you would like to either try this yourself or learn more about Facebook events, you can find more information here.
Whew! That’s a lot of basic information, but the better the foundation, the better your success! Now that you have the Facebook Pixel created and installed on your website, we can move onto the actual ads themselves.
Make (Better) Facebook Ads
In order to make more conversions, you’ll need to know how to test and make better Facebook ads. In my experience, this is probably one of the most overlooked portions of ad creation by businesses. Many bloggers and business owners just want to get the ad “out there” and pay little or no attention to making sure the ad is doing what it should be, or how the ad can be made better so that it does do what they want – make them money, or gather leads, or subscribers, or, or, or ….
The first thing you should know about making ads on any platform is that you need to test your ads and CHANGE them. The first ads you create are most likely not going to be the best producing thing your business ever did. The audience might need tweaking, the images, the wording, the offer, or the landing page. All of these things might need to get updated as the data comes in to show you what people react to, or what they ignore completely.
In this day and age people are ignoring ads all over the place (called “banner blindness”) or they are a part of the 25% of people using ad blockers, and Facebook is one of the places they are going to chat with friends or keep up with family, so you’re going to need to be sure your ads are catching the attention of the people you can capture.
I go over how I created ads when I was working with Heroic Search in this article, and in it, I also show examples so you can follow along with what I mean with each change and each test. These are exactly the steps I would recommend you starting with.
Just to be thorough, though, I’ll cover them a bit here.
Test the Images
With your first set of ads, use the same targeting, the exact same text, calls to action, and links, but you will use different photos. Create 2–3, using different images on each. You’re just trying to collect data at this point.
Test the Copy
After about 1,000 impressions, check on your ads to see which ad did the best. Which ad got you the most leads or the most money? Now use that image on your next test, even if the results weren’t that substantial.
In this new test, we will create a few more ads, but you’ll be using the same image and different language. Maybe change the call to action on this one or maybe ask a question on the next one. The point is to change the way you worded the previous ads. You want to speak the language of your audience so they will want to click. You’ll want to speak to their pain points points.

Test the Target
Finally, this is our last test – Targeting. After another 1,000 impressions, and more tests, you’re probably seeing better results but are not where you want to be – yet. A few of the ads may have gotten you nothing at all. That’s OK; you’re still collecting data that will help narrow down what your audience prefers.

Keep It Up and Get Better with Facebook Ads
There are tons of resources available to learn more about Facebook advertising advertising, so read and test and experiment with your ads to find out what works best for your audience. Don’t get discouraged if something doesn’t work quite right. Just set up a budget to use each month and plan a campaign. Then test, test, test, and get better!
Have you used Facebook Ads? Share your experience with us in the comments below.
Roxanne Roark
Roxanne R. Roark is a seasoned social media marketer from Tulsa, Ok, with a passion for learning and conquering the digital space for her clients through strategic social media marketing!


